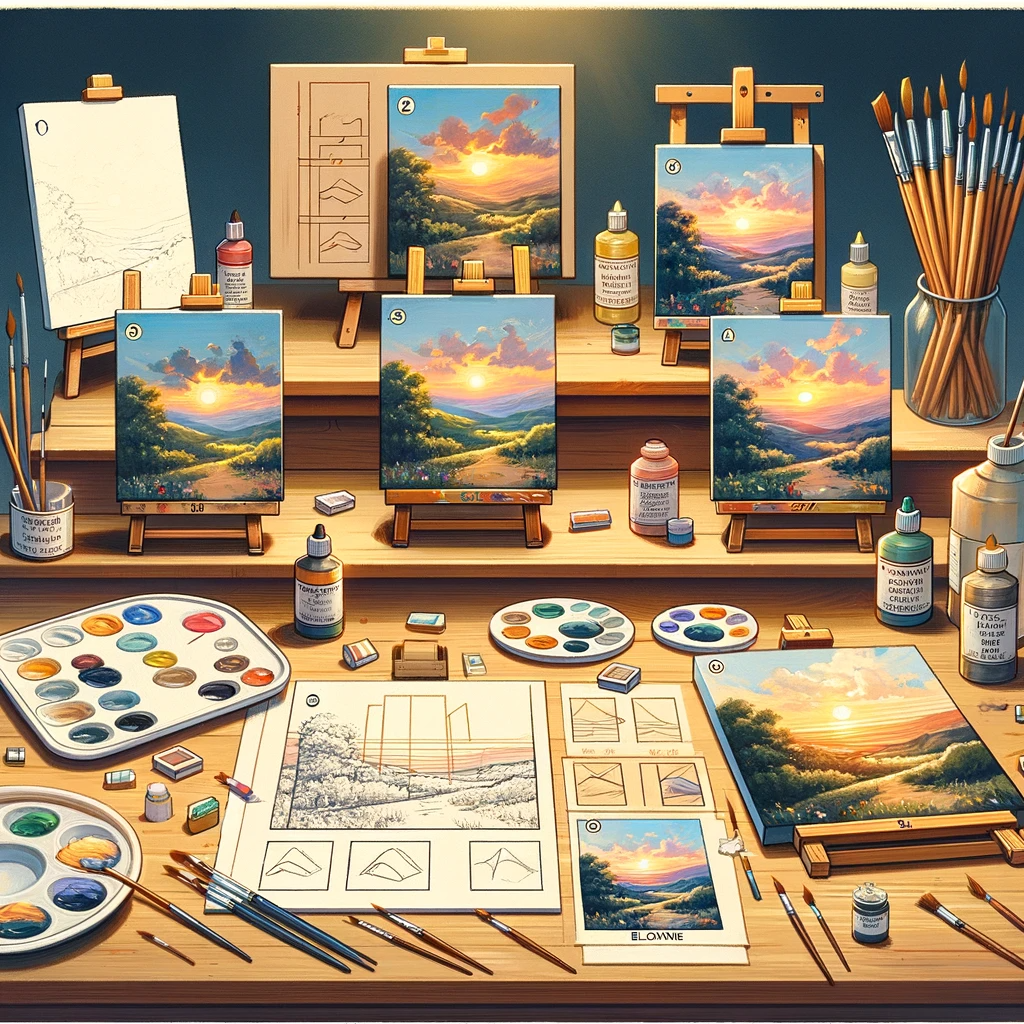
Are you a budding artist eager to explore the world of oil painting? Oil painting is a timeless and captivating art form that allows you to express your creativity on canvas in ways that are both rewarding and visually stunning. If you’re new to this medium, fear not! In this step-by-step guide, we’ll walk you through the essential oil painting techniques for beginners, helping you embark on a rewarding artistic journey.

Step 1: Gather Your Supplies
Before diving into oil painting, you’ll need the right tools and materials. Here’s a list of the essentials:
- Oil paints in various colors
- Brushes of different shapes and sizes
- A palette for mixing colors
- Canvas or canvas board
- Solvents like turpentine or mineral spirits
- Linseed oil or other mediums for adjusting paint consistency
- Easel for comfortable painting
- Palette knives for mixing and applying paint
- Rags or paper towels for cleaning brushes and wiping excess paint
Step 2: Prepare Your Workspace
Set up a dedicated workspace with good lighting and ventilation. Cover your work area with a drop cloth or newspapers to protect it from any accidental spills. Keep your supplies organized and within reach for a smoother painting experience.
Step 3: Learn Basic Brush Techniques
Start by practicing basic brush techniques. Experiment with different brush strokes, such as:
- Stippling (dotting)
- Hatching (parallel lines)
- Cross-hatching (intersecting lines)
- Scumbling (applying a thin layer of paint with a dry brush)
- Blending (mixing colors smoothly)
- Impasto (thickly applying paint for texture)
Practice these techniques on a spare canvas or paper until you feel confident.
Step 4: Understand Color Mixing
Understanding color mixing is crucial in oil painting. Begin with a limited color palette, such as primary colors (red, blue, yellow), plus white. Experiment with mixing colors to create various shades and tones. Pay attention to color theory, including complementary, analogous, and split-complementary color schemes.
Step 5: Start with Underpainting
Before working on your final piece, create an underpainting. This is a monochromatic sketch that establishes the composition and values of your painting. It helps you plan your artwork and ensure a strong foundation.
Step 6: Layering and Blending
Oil painting involves layering paint to achieve depth and texture. Start with the background and gradually work towards the foreground. Allow each layer to dry before adding the next one. Use blending techniques to achieve smooth transitions between colors.
Step 7: Dry and Varnish
Oil paints can take days to weeks to dry completely. Be patient and avoid touching the surface while it dries. Once your painting is dry, apply a varnish to protect and enhance its appearance. This will give your artwork a glossy or matte finish, depending on your preference.
Step 8: Clean Your Brushes
Properly clean your brushes after each use to maintain their quality. Use a solvent like turpentine or mineral spirits, followed by soap and water. Store your brushes in a way that preserves their shape.
Step 9: Practice, Practice, Practice
The key to mastering oil painting is practice. Don’t be discouraged by initial mistakes or frustrations. Keep experimenting, trying new techniques, and studying the works of famous oil painters for inspiration.
Step 10: Seek Feedback and Join a Community
Share your work with friends, family, or online art communities. Constructive feedback can help you improve your skills. Consider taking art classes or workshops to further develop your talent and connect with fellow artists.
In conclusion, oil painting is a beautiful and rewarding art form that anyone can learn. By following this step-by-step guide and dedicating time to practice, you’ll unlock your creative potential and create stunning masterpieces. Remember, the journey of becoming an accomplished oil painter is as fulfilling as the final artwork itself. So, grab your brushes, embrace your inner artist, and start painting your way to artistic excellence today!
